Sunday, November 27, 2011

Salvia's Final Sail

It's time I admit that I haven't been fully honest with my posts so far. I keep referring to Ardea, but the truth is, I still haven't changed the name on the stern. But with the windvane steering system due to arrive later this week, transom work was bumped to the top of the list. On Sunday evening, Dana and I took off the transom-mounted wood placard painted with her previous name, Salvia, and started prepping the transom for the new name.

Dana filling the drill holes in the now-bare transom.

I've joked for a while now that my boat has 3 names: Salvia, the old name; Ardea, the new name; and Saliva, the typo on the registration certificate. I'm pretty excited to finally have it down to just one. We gave Salvia a good last hurrah this weekend, though. Dana and I sailed for about 8 hours on Saturday and accomplished a couple of firsts. 


The Marin headlands are finally on the left!
We road a 5 knot ebb out the Gate and got her out on the glorious Pacific for the first time since her move to the Bay!

Also, thanks to finally having a second hand, I got to practice the joyful process of boat projects while underway. Dana sailed- well, I might add- while I installed and wired a new cockpit light.

We also had the most substantial night sail since I've owned the boat, which included plenty of commercial traffic. Though always scary to be sailing around ships you must assume do not know you are there, it was nice to have vindication for installing an AIS receiver. It was super useful to be able to see commercial traffic on the plotter screen- it's remarkably difficult to pick out ships' lights against the urban background and they move so quickly that before you've decided whether they belong to Ghiradelli Square or Alcatraz or one of the bridges, those lights and the millions of tons of steel they're attached to can be right on top of you.

Training.
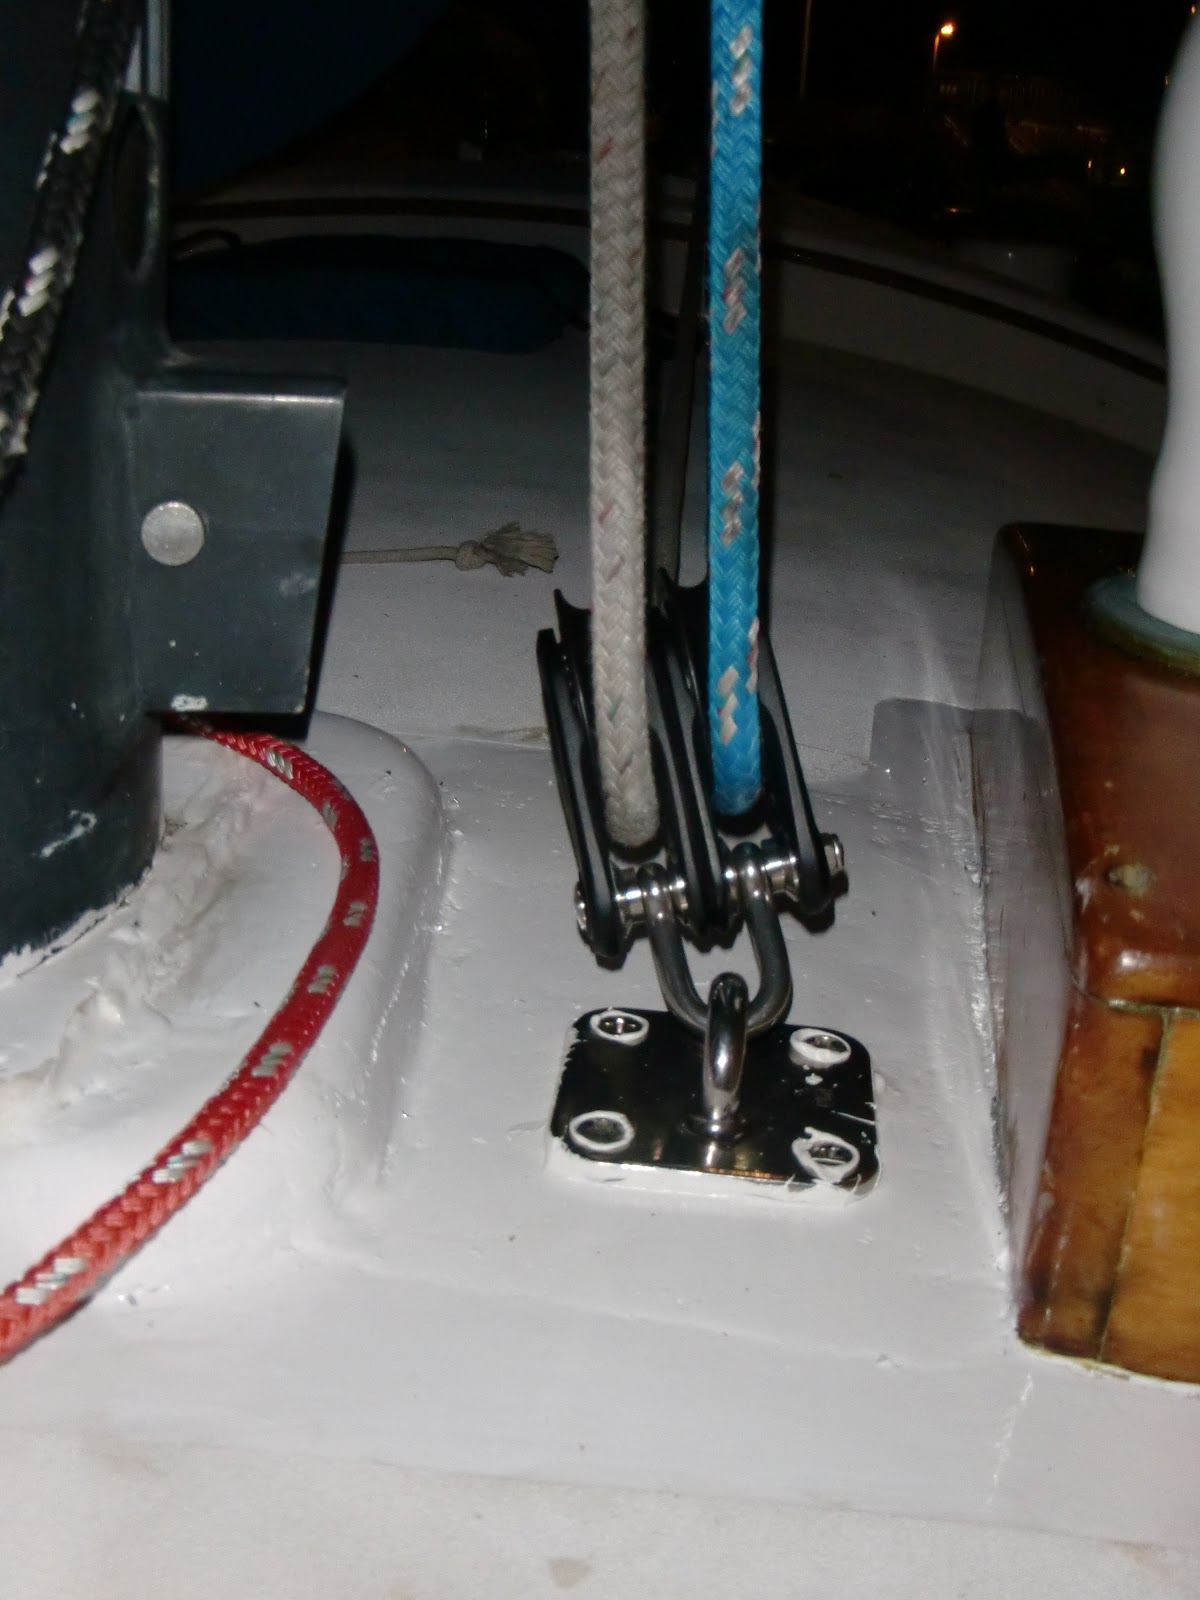
We also gave the engine (Perkins 4.107 diesel) it's most significant run since I've owned the boat. Most of the time I run the engine for about ten minutes total getting into and out of the slip (we're spoiled with wind on the Bay). However, the wind died Saturday evening and we were still 2 miles outside the Gate at sunset, so after a couple hours of very slow progress, we fired up the Perkins. I think we kept it up near 2000 rpms for a little less than two hours without a hiccup and made 6 knots. I was happy to give the engine that test and even happier to have it perform well.

Then, Sunday, my parents came out for their first sail on the boat along with my uncle Tom and cousin Henry. We even brought Milo, the snaggle-tooth cat, along for the ride; he crawled all the way forward to the anchor locker and took a series of naps on the rode, puncuated by our tacking. More beautiful autumn weather, family and friends were a great last hurrah for the boat named Saliva. This week, I'll finish getting the new name and port-of-call put on the transom and we'll be that much closer. Though mindful of superstitions, I am excited for the new era of Ardea.


Milo, otherwise known as Snaggle-tooth.

Wednesday, November 23, 2011

Plumbing Redux

When I acquired Ardea, she had a holding tank and a macerator pump installed so that the toilet effluent could be flushed overboard from the tank while at sea. There was no way to expel poo at a shoreside pump-out station. Legally, one has to be at least 3 miles from shore to pump their poo into the water for fairly obvious reasons. So, being that we live in Berkeley, about 10 miles from the Poo Expulsion Zone, as it's officially known (not to be confused with PEZ candy, which are both delicious and entertaining), I couldn't use the head on the boat in the original configuration. Incidentally, I was doing a lot of fieldwork last spring and between that and living on the boat, I'd say I urinated outdoors about 80% of the time. All well and good for a dude like myself, but it only takes a couple penguin walks down the docks in the rain to know that on-board sanitation systems are necessary and good.

The Plan:

I wanted a system with these features:
-fully manual (no electrical draw: does anybody want to buy a macerator pump? I cleaned it, I promise)
-ability to pump directly overboard (i.e., bypass the holding tank)
-no new holes in the deck
-more support for the holding tank under the v-berth


The Cost:

This was a pretty cheap project. I was able to re-use a lot of the plumbing tubing. I did have some expenses though.
-$25 for plastic plumbing tubing (rated for sanitation systems)
-$60 for Y-valve
-About 6 hours of labor

The Result:

Works like a charm.

There's not a whole lot to see on this one, but I've put some photos of my configuration and a generalized diagram of the set-up.

It's pretty simple. The Y-valve allows the excreter to select whether to send their effluent to the tank or straight to the sea. The tank can be emptied in two ways. 1) The terminal 'out' tube that runs from the bottom of the holding tank can be fed through the port light in the head. The cap is then unscrewed and a shoreside pumpout vacuum sucks all the poo out from under my bed. 2) The terminal out tube is kept in the head. The cap is unscrewed and the soft rubber fitting is screwed in. This is then placed in the toilet. A decent seal needs to be made in between the toilet bowl and the rubber fitting. The Y-valve is then put in the 'direct-overboard' configuration. Manual pumping of the toilet then draws effluent from the holding tank overboard.


Monday, November 21, 2011

Standing Rigging/Deck Repair

[skip the first two paragraphs if you want to get to the repair]

When I first began living on Ardea I understood there would be a number of adjustments in lifestyle I would have to make. I started out without electric refrigeration or a usable plumbing system, but I got used to that, though I eventually had to upgrade. Also, little things like hitting my head several times a day became normal very quickly. But one thing I hadn't expected and that was tough to get used to was the sounds. There are a lot of differences between the auditory environment at the marina versus the urban apartments I've called home. I would consider many of them improvements- chorus frogs, night herons and footsteps on wood planks are more pleasing to me than drunk people and traffic- but it's hard to describe how much a forty year-old sailboat talks. And when you don't speak the language and you're hyper-sensitive because it's your first boat and so on... the paranoia is tough.

I had some previous stints as a liveaboard and new what to expect out of vibrations in the rigging and the rubbing of hull and fender and dock. But it took months to become accustomed to the unique creaks, the hum of the bilge versus the water pump, the sound of the deck hardware and so on. For a few months I was hopelessly paranoid- awakening with a start at every new vibration and every hum or scrape from a previously quiet corner- but I learned and as Ardea became home we began to trust each other. It was a relief to get over the "we're sinking for sure" reaction, but it wasn't long before I heard the sound no sailor likes to hear: mangling of fiberglass.

I had the always-disconcerting experience of hearing a fiberglass entropy increase while I was replacing Ardea's standing rigging. The damage wasn't actually all that bad. It happened when the large turning block at the base of the mast ripped out of the deck. I happened to be up the mast at the time on one of the halyards run through that turning block, but that's less scary than it sounds. The block was installed on two large spacers, which created a lot of torque on the deck. Furthermore, two of four bolts for the block were self-tapping bolts that terminated in the mast support beam. The other (forward) pair of bolts was through-bolted but without a backing plate. Over time, because of the torque on the whole contraption, water seeped beneath and rotted out the plywood deck core. While I was fiddling with my main mast rigging, the bolts tore out. The following is a description of how I repaired the deck and re-configured the hardware to avoid the problem in the future.


Here's the pesky turning block that turned the halyards from where they exited the base of the mast 90 degrees aft so they could run to the cockpit. Notice the short bolts on the left and the rottedness of the whole deal.

The hole doesn't look too bad from the interior...


...but from the exterior, the deck is pretty torn up and the plywood core is in bad shape.


2 inch diameter forstner bit I used to take out all the rotten wood that got chewed up when the washer pulled through the deck.

After drilling and sanding. Ready for penetrating epoxy to treat the now dry deck core.


Had to get creative to keep pressure from the interior so I could pour penetrating epoxy on the plywood without it seeping through. Penetrating epoxy fills tiny voids in the plywood that develop when water saturates the wood causing it to expand and contract (upon drying). This causes the plywood to delaminate and eventually lose all of its strength. The epoxy helps reverse the effects and adds strength to the wood, but the source of water that is saturating the wood must still be stopped to cure the problem. In this case, that meant properly bedding new hardware and avoiding the situation of lateral forces on horizontal deck hardware.

After penetrating epoxy and sanding the edges so they were tapered, I filled it in with West Systems epoxy and colloidial silica filler.

After sanding, I put down a couple of layers of fiberglass. It's pretty overbuilt...

Finished sanding it down (again) then drilled it for a padeye and painted everything with a polyurethane finish coat.


Installed a padeye and double block. I also had to add a collar on the mast so that both halyards could be routed out of the side of the mast instead of at the base. I chose this configuration because the pressure on the block is much closer to perpendicular to the deck surface, so the force is carried evenly on the padeye and its backing plate. Previously, much of the pressure was directed nearly parallel to the deck, which slowly pries at the hardware and, in my case, eventually destroyed the seal that keeps water from soaking the plywood core and leaking into the cabin.


The halyards run aft to the next turning block without ever touching one another, which was my main concern with this set-up.


This new rig has worked very well so far. The padeye is through-bolted with a stainless steel backing plate, so hopefully the lateral torque issues that doomed the last piece won't be a problem with this one.

Briefly on replacing standing rigging: the process was not nearly as difficult as one might think (a good bosun's chair setup is pretty crucial, especially if one wishes to accomplish this by his lonesome; many thanks to my friends at Hood Sails in Sausalito, who lent me their awesome bosun's chair so that I could haul myself up and down the masts dozens of times last summer). I replaced every piece of rigging except the forestay and increased the diameter on each of them. I paid for swage labor (swages are the terminal fittings that provide a threaded piece so that a turnbuckle can screw onto the wire). I considered using Sta-lock fittings so that I could put them together myself, but the increased cost for Sta-lock was more than the labor for the swages. Though some argue that one can make Sta-lock the more affordable choice by re-using the fittings, this requires disassembling them without breaking them, which can be very difficult. Anyway, I took off half of the old rigging and carefully replaced each piece that I removed with rope anchored somewhere on the deck. It is very very important if you are doing this to get as much tension on any rope rigging as possible (e.g., by rigging a purchase system). In hindsight, it would have been safer to replace the rigging one piece at a time, but this would have required many trips to Svendson's rigging shop...  not that I haven't made many, many trips there... next time I'll do it one piece at a time. In any case, other than a very stubborn spreader fitting, the process went relatively smoothly and was fairly cost effective (I spent about $2000 on all but the forestay, which isn't bad for a ketch).

Thursday, November 17, 2011

Refrigeration on the Cheap

I lived on the boat for about 6 months without refrigeration. I rotated gallon-size jugs of water from Ardea's built-in icebox to the freezers at my office and the apartment of my brother, Charlie. Even though Chuck loved my random visits to his freezer, where my ice blocks occupied about half the space, it got pretty old after a while. That said, a marine refrigeration unit to convert the icebox was gonna run me near a thousand bucks. I found a cheaper way to do it with the help of some of the many sailboat geniuses at Berkeley Marina (Sean, you saved me a lot of cussing on this one).

The Plan:
                  Dismantle a mini-fridge and install the compressor and cold plate into my boat.

The Cost:
                 $40 for the fridge (craigslist)
                 $10 for some plexiglass
                 $5 for tools/hardware dropped into the bilge, where stainless steel goes to die
                 And  about 12 hours of labor

The Result:
                So far so good. Keeps the fridge at about 35 degrees. Of course, it hasn't been subject to months on end of pounding through waves, and it is almost certain it will fail before an $800 unit would. But, I can replace the compressor unit rather easily at this point. Call it a victory.

Below are photos with captions describing what I did.


The donor fridge who so graciously offered its guts to cool my beer.

I first removed screws and metal panels to expose insulation. I had no idea what was buried in there and I didn't want to break anything so I slowly removed insulation. I could have saved a lot of time in this step...


The copper heat-sink wire runs along the roof and sides of the mini-fridge. It ended up being fairly easy to dismantle the whole thing by pulling the metal shell off of the outside of the fridge. The heat-sink wire could then be pulled off of the outer portion of the insulation. Pulling insulation out from the inside was a slow, messy approach.


Re-shaping the heat sink around a fire extinguisher.

I built a shelf for the compressor out of some scrap wood I found in the dumpster of infinite possibilities.


I then (slowly) used a jigsaw to cut a hole in the stainless steel ice box. I cut out a larger area than I ended up needing. Would have liked to undo that one, but so it goes.


Cold plate fed into icebox. The compressor shelf now sits beneath the port lazarette storage.


In place. Notice the aesthetically pleasing arrangement of the screws in the shelf.


I repaired the ice box by taping the cut-out pieces back with foil tape and filling from the other side with expanding adhesive foam, which was remarkably effective at holding everything in place while providing some insulation, though messy to work with. I put too much foam in on the first go-around- it expanded a bit more than I expected.

Eventually I cut away all that extra foam and re-did the job so that it looks a lot cleaner, though the whole area is covered by plywood that makes up the floor of my lazarette storage, so it doesn't matter too much.


View into upper deck of ice-box, where a plexi-glass housing for the cold plate and booze are kept.
The plexi-glass box for the cold plate also helps direct the cool air from the smaller upper portion of my ice-box to the larger compartment. That was a pretty simple process using plex-glass from the hardware store. It has to be cut using great patience or it will crack, but otherwise, plexi-glass is easy to work with.

Boat Projects

About 15 months ago, when I was still unsure as to whether I wanted to buy a sailboat, I remember someone telling me the old joke about how boats are holes in the water into which you pour money. A lot of people told me I'd be throwing money away. Maybe so. But I've loved working on my boat and in preparing for this trip I've learned a great deal. And all I had to do was watch some dumb number on some dumb website get smaller. It's true though- while the live-aboard life can be pretty damn cheap, making a 41 year old sailboat seaworthy requires some investment. Perversely, I've tried hard to keep that cost in more blood, sweat and tears, and less deductions from the aforementioned number. In the process I've become a bit of a principled do-it-yourselfer; I say principled because it doesn't take a whole lot of arithmetic to understand that taking time off from work to work on the boat doesn't always equal a financial victory. But knowledge.

Anyway, with the exception of swage labor for new standing rigging, I've managed to do all the labor so far. Though many of my machinations aren't the prettiest, they've all been functional. Over the next few months I'll post some of the projects completed on Ardea over the last year. It would be great if this might help other folks avoid some of the extraneous costs and labors I have expended, but even if it saves you no time or money, I hope my fellow boat-owners can feel some solace in imagining me cussing while contorted in the confines of Ardeas engine compartment or dangling at the top of the mast. Feel free to chuckle as I ploddingly traverse the learning curve.


I've been fortunate to have a knowledgeable and supportive sailing community in Berkeley and the Bay Area. There are a lot of wonderful people around that have provided such valuable guidance- I truly appreciate the help.


Wednesday, November 16, 2011

Numero Uno

After months of promise I finally spent my morning off setting up the boat blog. The process was painless, it has been 50 minutes since I started. Of course, the site is not complete but place holders are...in place, and the we finally have a draft designed with bits and bytes. Anyways, don't judge us yet, we will make it better and you will find yourself checking back in with us, waiting for the next chuck of words or picture of paradise.

Cheers!